Pushed can be used to send messages to a large amount of users, that is pretty straightforward to understand. If you create an app or channel in Pushed and people subscribes to it, once you send a message everyone will receive that message. But, ¿what if you want to specifically target a user?
Depending on which target you want to reach for your notifications, you will use different type of targets:
- app: Send a notification to all subscribers of an app.
- channel: Send a notification to all subscribers of a channel.
- user: Send a notification to an specific user specifying user alias (OAuth required).
- pushed_id: Send a notification to an specific user specifying Pushed ID.
- email: Send a notification to an specific user using its email (registered in Pushed).
Today we will cover the specifics of targeting individual users using our API. Remember that in all scenarios, the user must be subscribed to your app or channel in order to be able to send him notifications.
Using Email
Email is the easiest way to target an specific user. To do so you only need the email of the user (the email must match the user's Pushed account). This basically means that the email the user used to sign up with Pushed must match the one you specify. In order to use email targeting, the following points must be comply:
- Add
target_type = emailto the push API request. - The user must be subscribed to your App or Channel.
- A Pro plan subscription is required.
Using OAuth
The integration between your system (in this case the shop and Pushed) it's done with OAuth authentication. This allows the integration between Pushed and any other service. Once the user has been authenticated in Pushed, you will receive an access_token that needs to be used in the API call.
- Add
target_type = userandaccess_token = the_access_tokento the push API request. - The user must be subscribed to your App or Channel (because you requested authorisation, you can programmatically subscribe the user to your app or channel).
Using PushedID
This target can be used in a wide variety of situations.
The most common are third party integrations and physical interaction integrations.
Third Party Integrations
PushedID provides a very direct and easy way to target users in Pushed. An example will be handy in this case. Bugsnag, an error monitoring platform, allows you to send a push notification to Pushed every time there's a new issue in your project. The configuration is very easy, to do so you only need to add your PushedID in Bugsnag's site and enable the integration:

- A Pro plan subscription is required.
Physical Interaction
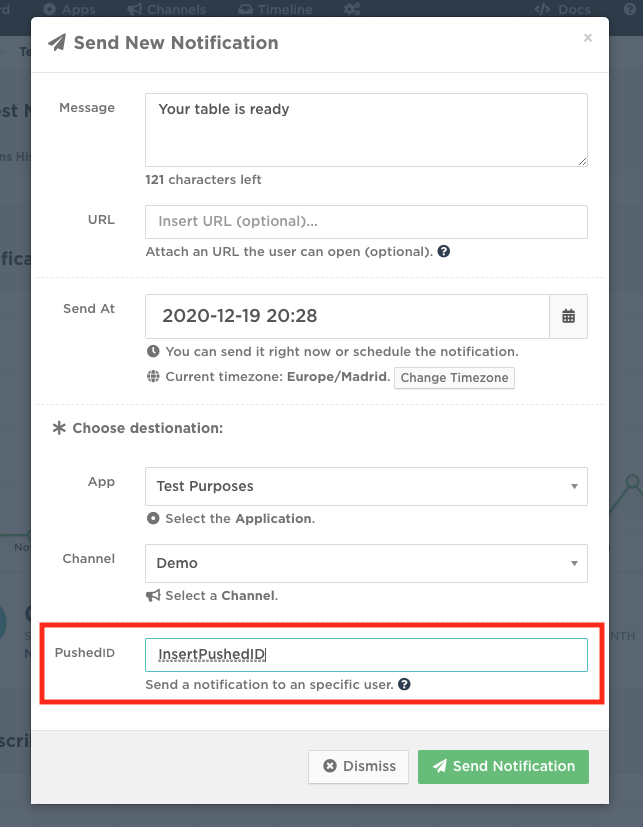
Let's make an example. Imagine you run a restaurant and a new customer comes in. Unfortunately the restaurant is at its full capacity, but a table is finishing soon. Instead of making your customer wait for an unpredictable amount of time, you use Pushed to let him know when the table is ready. Because the user it's at the same physical place, you can use PushedID to gain permissions for sending notifications to the user (the user will be able to unsubscribe at any time). This would be the process:
- You show the customer the QR subscription code from your App or Channel and the customer subscribes to it using the Scan QR option in Pushed.
- Once the customer is registered, we need his goes to Account and opens the PushedID option. This will display a QR code you can scan to copy the PushedID of the customer.
- You use that PushedID to send him a notification once the table is ready (available in API or web).
